Is something missing in this picture?
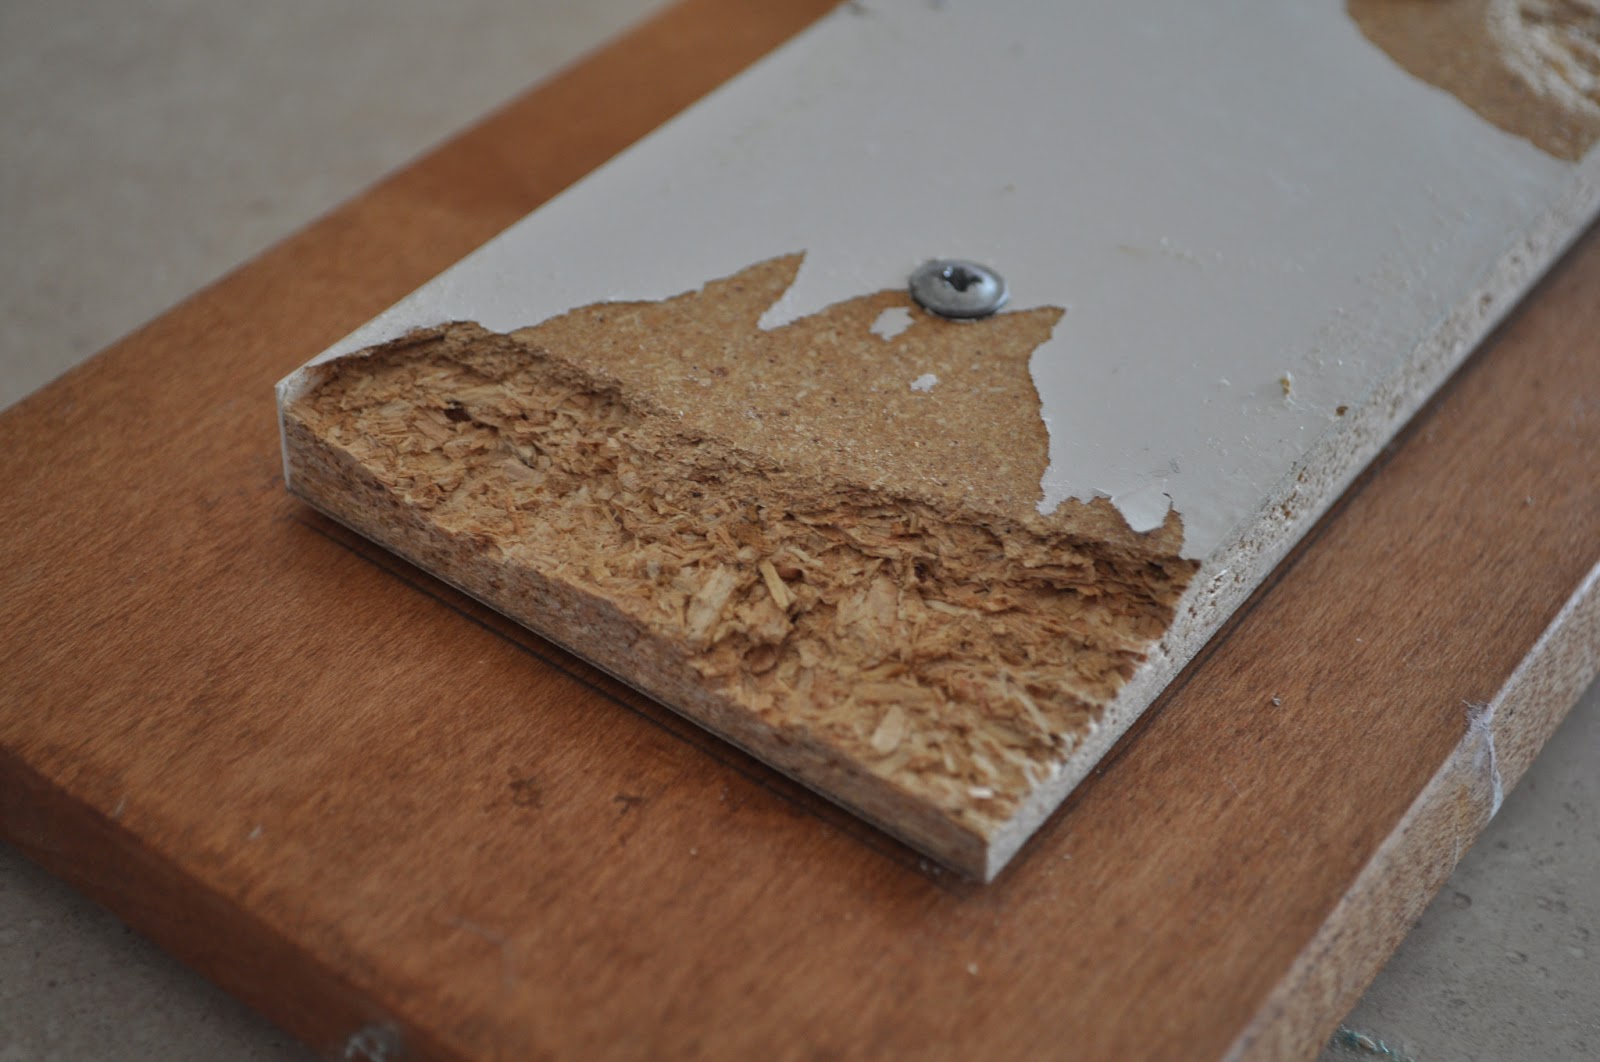
Perhaps, a drawer face? We have five kids. And five kids equates to messes and destruction around every corner. The kids are always using the drawers as a ladder to climb on top of the counter, and it was only a matter of time before one of the faces broke off. But when it broke and I looked at it, I was really shocked to find just how shotty a job they did building the dang things. The entire box of the drawer is just stapled together, and badly at that. There's not a bit of glue or screws on ANYTHING except what attaches the face to the box. I always knew the boxes were made of particle board, but I didn't ever pay attention to how cheaply they are put together. So it's no wonder the thing finally broke off. Now I'm waiting for more drawers to start breaking.
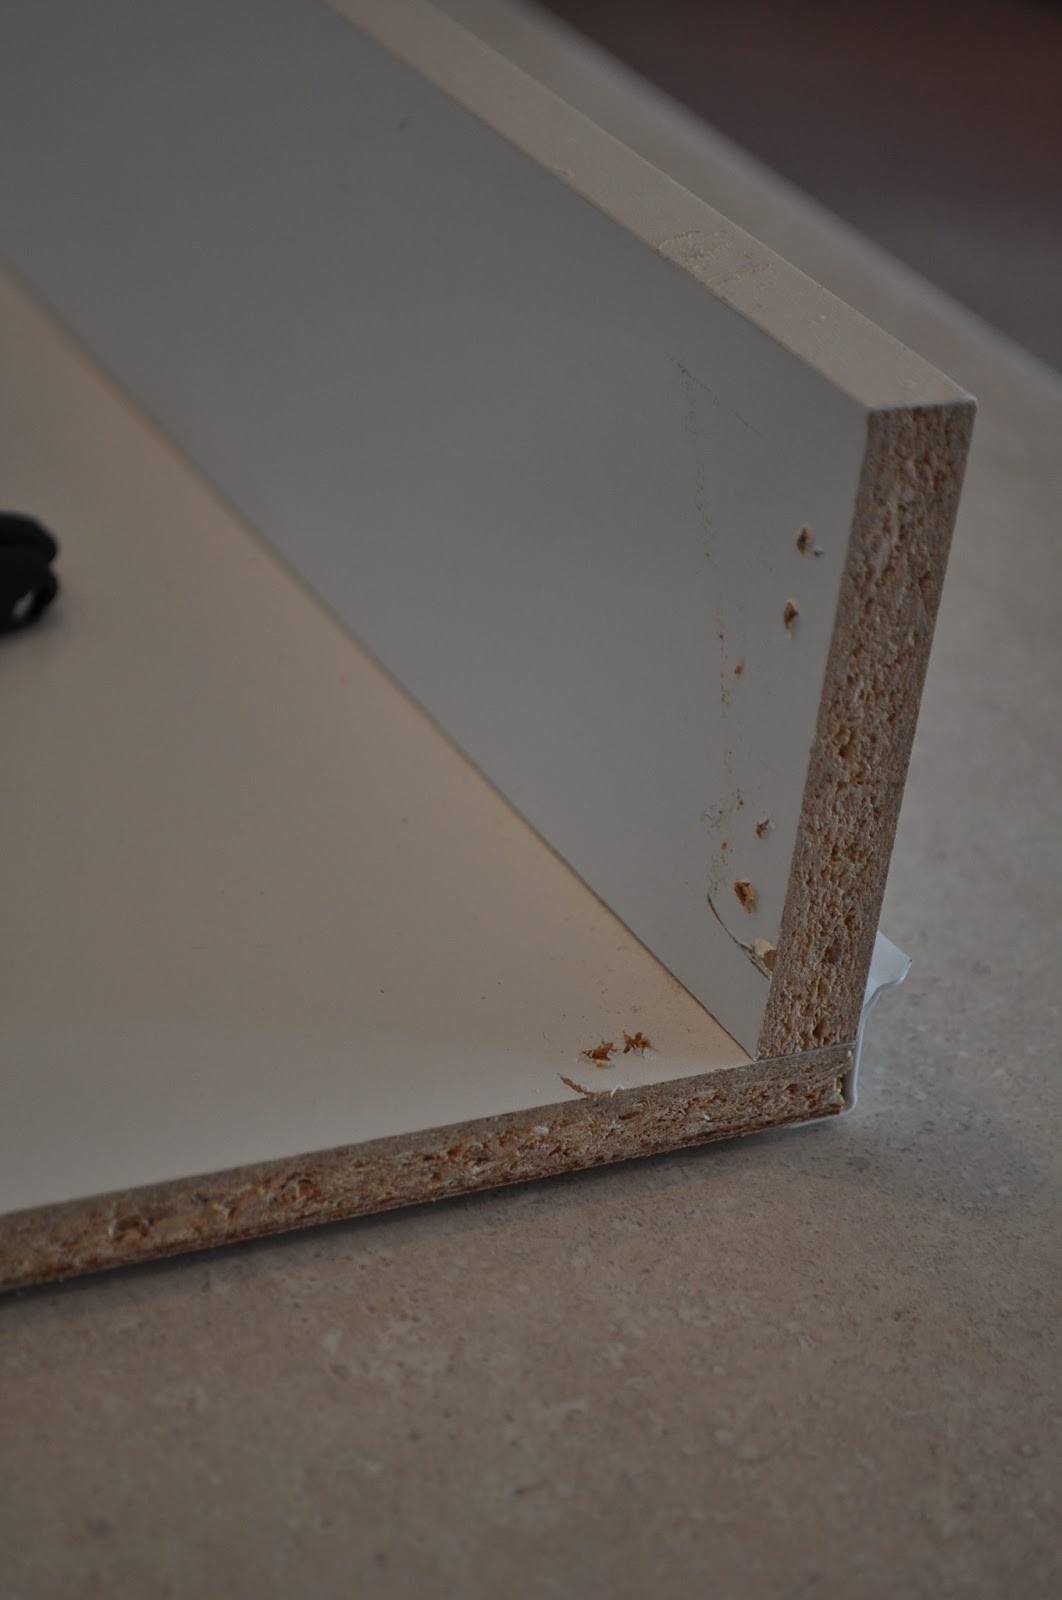
You can see where it had been stapled in because when it broke, it literally ripped apart from the staples. Quality!
Before I removed the backing, I carefully traced exactly where the backing sat. Very important step! And just look at how gross the back of the face was. Ew.
One of the hardest parts of this job was removing the staples from the box. This was really difficult because when the face ripped off, the staples bent. And the staples were in there very tightly, and they were very hard. It took me about an hour to remove everything, but a couple pieces remained. I had to work around what I couldn't remove.
Because I was going to the trouble to fix it, I was NOT going to replace the back with particle or MDF board. I used good, solid lumber. But the problem what that the backing was exactly 3 inches tall, which is NOT a standard size of anything. Even a 1x3 isn't really one by three inches. It's actually more like 3/4 inches by 2 1/2 inches. So I first cut a 1x4 to an EXACT measurement to fit the space. I kept the old, broken backing and used to to go by. You have to be careful to cut it exactly because it needs to fit in there like a glove.
I then used a jig saw to "rip" the board all the way across to make it flat with the top of the box.
I Gorilla Glued the sides and bottom to the box, where the staples used to be. Gorilla Glue is amazing stuff, but you have to be very careful to follow the instructions and WEAR GLOVES!! It cures with moisture so you first have to lightly dampen both surfaces that you are gluing together. After it was glued, I secured it all together so it would dry nicely and tightly. Kept it secure for at least two hours.
The next day I used some wood screws to add support into the new joint of the box. I did two 1 1/4 inch screws on each side, none on the bottom because it didn't need it.
Remember how I traced where the original backing had fit? I lined the box up perfectly on the of the traced face back.
I find where the original screw holes where. On this drawer, there were three of them. Because I didn't want to overlap holes (it would take away from the strength)I marked on the new lumber a line to indicate where the old screws were so I DIDN'T duplicate the holes in the same place.
Now, I fit the box on top of the face back perfectly. Good thing I traced it! I secured it with a little masking tape so it wouldn't shift while you drill it.
Drill the holes as centered as you can, obviously avoiding the old holes.
I again used a 1 1/4 inch screw, which is slightly longer than the original screw because the lumber is thicker than the old board.
Ta da! Since I was already working with my power tools, I went ahead and added some hardware to the drawers and cabinets (something I've been wanting to do for years). Now when we have people over I don't have to duck tape the drawer facing from the inside, just to make it look normal. I'll post later about the perfect way to install hardware like this.